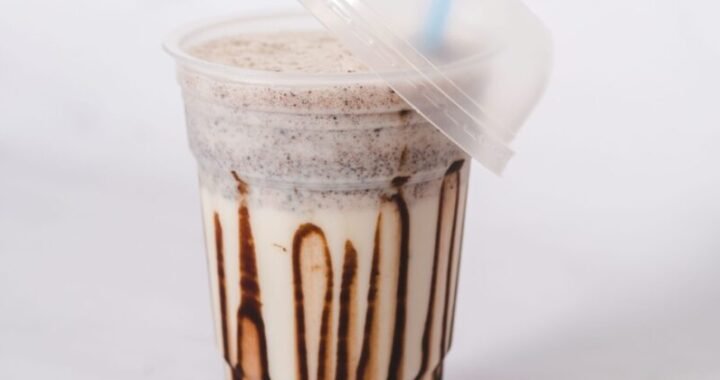

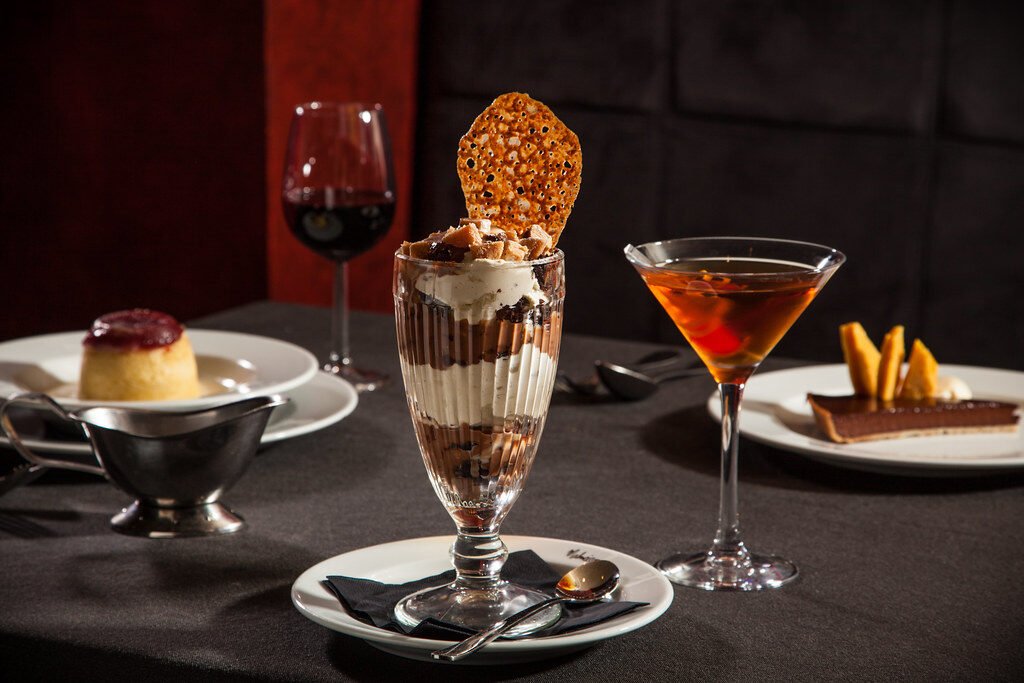
There’s something about a chocolate sundae that instantly brings back a certain kind of joy — the kind you felt as a kid staring at a tall glass filled with scoops of ice cream, warm fudge sauce cascading down the sides, and a cherry perched perfectly on top. It’s nostalgic, it’s indulgent, and best of all, it’s one of those desserts that requires almost no actual cooking skill to pull off beautifully.
A great chocolate sundae isn’t really about following a rigid recipe — it’s about layering the right components in the right order so that every spoonful gives you a bit of everything: cold ice cream, warm sauce, a little crunch, and just enough texture to keep things interesting from the first bite to the last. This guide walks through how to make a truly outstanding chocolate sundae from scratch, including a homemade hot fudge sauce that puts anything from a jar to shame, plus tips on toppings, textures, and assembly that take it from “fine” to “the best sundae you’ve ever had.”
Why Homemade Hot Fudge Makes All the Difference
Store-bought chocolate syrup has its place, especially on a busy weeknight, but if you want your sundae to feel genuinely special, homemade hot fudge sauce is where the real transformation happens. Unlike thin, overly sweet bottled syrup, a proper hot fudge sauce is thick, glossy, and deeply chocolatey, with just enough richness from butter and cream to make it cling beautifully to a scoop of ice cream rather than sliding straight to the bottom of the glass.
The best part is that homemade hot fudge takes less than 10 minutes to make, uses ingredients you likely already have in your kitchen, and keeps well in the fridge for weeks, meaning one batch can set you up for sundae night whenever the craving strikes.
Ingredients You’ll Need
This recipe makes enough hot fudge sauce and toppings for about 4 generously sized sundaes.
For the homemade hot fudge sauce:
- ½ cup heavy cream
- ½ cup unsalted butter
- ¾ cup granulated sugar
- ¼ cup light brown sugar, packed
- ½ cup unsweetened cocoa powder
- 4 ounces semisweet or bittersweet chocolate, finely chopped
- ¼ teaspoon salt
- 1 teaspoon vanilla extract
For the sundae base:
- 1 quart vanilla ice cream (or your favorite flavor)
- Whipped cream, freshly whipped or store-bought
- Maraschino cherries, with stems if possible
Optional toppings:
- Chopped toasted nuts (pecans, almonds, or walnuts work beautifully)
- Crushed cookies or brownie bites
- Mini chocolate chips
- Sprinkles
- Crushed pretzels, for a sweet-and-salty contrast
- Sliced bananas or fresh berries
Step-by-Step Instructions
Step 1: Make the Hot Fudge Sauce
In a medium saucepan over medium heat, combine the heavy cream, butter, granulated sugar, and brown sugar. Stir occasionally as the butter melts and the mixture comes together, letting it heat until it just begins to simmer gently around the edges.
Once it’s simmering, whisk in the cocoa powder until fully incorporated and smooth, with no lumps remaining. Reduce the heat slightly and let the mixture simmer gently for about 2 to 3 minutes, stirring constantly to prevent it from scorching on the bottom of the pan.
Remove the saucepan from the heat and add the chopped chocolate and salt. Let it sit undisturbed for about a minute to allow the residual heat to soften the chocolate, then whisk everything together until it’s completely smooth, glossy, and well combined. Stir in the vanilla extract last, once the mixture has cooled slightly, since adding it while the sauce is at a full simmer can cause some of that flavor to cook off.
Taste the sauce and adjust if needed — if you prefer it slightly less sweet, a touch more salt can help balance things out, and if you want it a bit richer, an extra tablespoon of butter whisked in at the end never hurts.
Step 2: Cool the Sauce Slightly
Let the hot fudge sauce cool for about 5 minutes before using it on your sundae. It should still be warm and pourable, but not so hot that it immediately melts your ice cream on contact. If you’re making the sauce ahead of time, it will thicken significantly once refrigerated, so gently rewarm it in the microwave in short 15-second bursts, stirring in between, until it reaches a smooth, pourable consistency again.
Step 3: Prep Your Toppings
While the sauce cools, get your toppings ready to go. If you’re using nuts, toast them lightly in a dry skillet over medium heat for a couple of minutes until fragrant — this step makes a surprisingly big difference, deepening the flavor of the nuts and adding a bit more crunch than they’d have straight out of the bag.
If you’re whipping your own cream rather than using store-bought, beat cold heavy cream with a tablespoon or two of powdered sugar and a splash of vanilla extract until soft peaks form. Freshly whipped cream has a lighter, less sweet flavor than most canned versions, and it makes a noticeable difference in the overall balance of the sundae.
Step 4: Assemble the Sundae
This is where the fun really begins, and there’s a bit of technique to building a sundae that looks as good as it tastes.
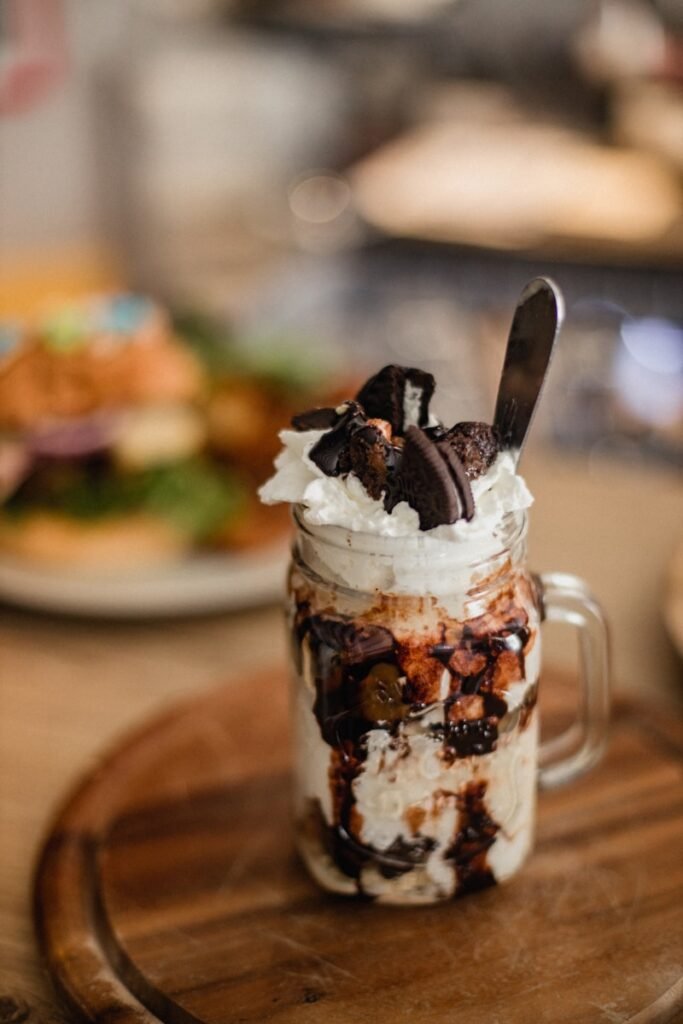
Start with a scoop or two of ice cream in the bottom of a tall glass or sundae dish. Drizzle a generous amount of warm hot fudge sauce over the top, letting it pool slightly around the scoops rather than just coating the very top. Add another scoop of ice cream on top of that first layer of sauce, then drizzle with a bit more fudge.
This layering approach, rather than just dumping all the sauce on top at the end, ensures that every spoonful you take has fudge sauce mixed throughout, rather than getting a mouthful of plain ice cream toward the bottom of the glass.
Once your ice cream and sauce layers are built, top everything with a generous swirl of whipped cream. Sprinkle over your chosen toppings, whether that’s toasted nuts, crushed cookies, mini chocolate chips, or a combination of several. Finish with a maraschino cherry perched right on top, because no chocolate sundae is complete without one.
Step 5: Serve Immediately
Sundaes wait for no one. Serve immediately after assembling, since the whole appeal lies in that contrast between warm fudge sauce and cold ice cream — a contrast that fades quickly the longer it sits.
Tips for Sundae Success
- Don’t skip toasting your nuts. It takes just a couple of minutes and adds a noticeably deeper flavor and better crunch than raw nuts straight from the bag.
- Layer your sauce, don’t just top it. Adding fudge sauce between scoops rather than only on top ensures a better balance of flavor in every single bite.
- Make sure your fudge sauce is warm, not hot. Sauce that’s too hot will melt your ice cream too quickly, turning your sundae into soup before you’ve even had a chance to enjoy it.
- Whip your own cream if you have the time. It’s a small step, but freshly whipped cream has a lighter texture and better flavor than most canned alternatives.
- Use good-quality chocolate in your fudge sauce. Since chocolate is the star flavor here, it’s worth using a chocolate you’d actually enjoy eating on its own, rather than something overly processed.
- Chill your serving glasses beforehand. Popping your sundae glasses in the freezer for 10 minutes before assembling helps keep everything colder for longer once you start eating.
Storage for the Hot Fudge Sauce
One of the best things about this recipe is that the hot fudge sauce keeps beautifully, making it easy to have a sundae-ready dessert on hand at all times. Store any leftover sauce in an airtight container or jar in the refrigerator for up to 3 weeks. It will thicken considerably once chilled, almost to a fudge-like consistency, so simply reheat it gently in the microwave or in a small saucepan over low heat, stirring frequently, until it loosens back up to a pourable sauce.
You can also freeze the sauce for longer storage, up to about 3 months, in a freezer-safe container. Thaw it in the refrigerator overnight before reheating.
Fun Variations to Try
Once you’ve mastered the classic version, there’s plenty of room to make this sundae your own:
- Peanut butter chocolate sundae: Swirl a couple tablespoons of warm peanut butter into the hot fudge sauce, or drizzle it separately over the ice cream, for a rich peanut butter cup-inspired flavor.
- Mint chocolate sundae: Use mint chocolate chip ice cream as your base and add a few drops of peppermint extract to the fudge sauce for a refreshing, cool contrast.
- Salted caramel and chocolate sundae: Layer both warm caramel sauce and hot fudge sauce between scoops, finishing with a sprinkle of flaky sea salt on top for a sweet-and-salty combination that’s hard to beat.
- Banana split-inspired sundae: Add sliced bananas to the base of the glass before adding ice cream, turning your chocolate sundae into a nod to the classic banana split.
- Brownie sundae: Place a warm brownie square at the bottom of the glass before adding your scoops of ice cream, creating an even more indulgent, dessert-on-dessert experience.
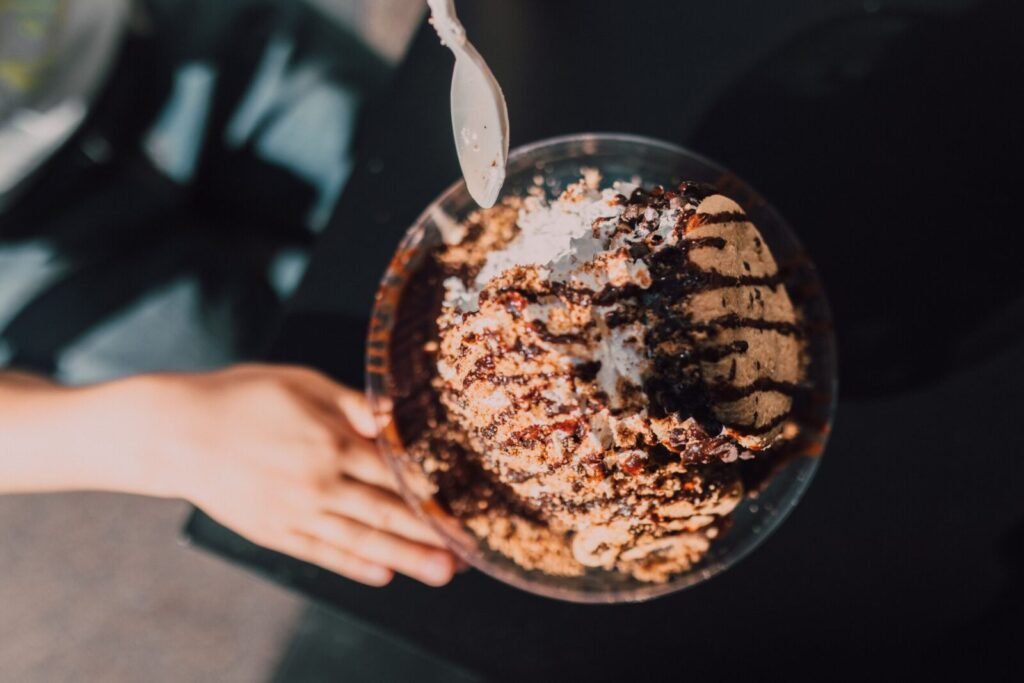
A great chocolate sundae doesn’t need to be complicated to be memorable — it just needs a few key elements done right: rich homemade fudge sauce, good-quality ice cream, a bit of textural contrast from toppings, and the confidence to layer everything properly instead of just piling it on top at the end. Once you’ve made your own hot fudge sauce from scratch, it’s genuinely hard to go back to anything from a jar.
Whether you’re making this for a summer treat, a celebration, or just because it’s been one of those days that calls for something indulgent, this sundae delivers exactly the kind of nostalgic, chocolate-soaked comfort that never goes out of style.
Grab a spoon, and enjoy every warm, cold, crunchy bite.