
There’s something timeless about a vanilla shake. It doesn’t try to impress you with flashy mix-ins or trendy flavor combinations — it simply delivers on the promise of cold, creamy, sweet comfort in a glass. Whether you’re nostalgic for the diner shakes of your childhood or you’re looking for a quick treat to beat the summer heat, a homemade vanilla shake hits the spot every single time.
In this article, we’ll walk through everything you need to know to make the perfect vanilla shake at home: the ingredients, the step-by-step method, tips for getting that ideal thick-but-drinkable texture, common mistakes to avoid, and a few creative variations to keep things interesting. By the end, you’ll have all the knowledge you need to whip up a shake that rivals anything you’d get from a milkshake shop.
Why Vanilla Shakes Never Go Out of Style
Vanilla is often underestimated. People assume it’s the “plain” flavor, the one you settle for when nothing else sounds appealing. But real vanilla — whether from a pod, an extract, or high-quality ice cream — has a warm, slightly floral, faintly sweet complexity that pairs beautifully with dairy. A well-made vanilla shake isn’t boring at all; it’s a showcase of how good simple ingredients can taste when they’re balanced correctly.
Part of the appeal is also nostalgia. Vanilla shakes are the foundation of soda fountain culture, the base flavor from which most other milkshakes are built. Chocolate, strawberry, cookies and cream — they all owe a debt to the humble vanilla shake. Making one at home connects you to that tradition while letting you control exactly how sweet, how thick, and how indulgent you want it to be.
What You’ll Need
The beauty of a vanilla shake is that it requires very few ingredients, and most of them are pantry or freezer staples. Here’s what you’ll need for a classic version that serves two:
- Vanilla ice cream — 3 to 4 cups, full-fat for the richest texture
- Whole milk — 3/4 to 1 cup, adjusted to your preferred thickness
- Vanilla extract — 1 teaspoon (pure extract, not imitation, for the best flavor)
- Sugar or simple syrup — 1 to 2 tablespoons, optional, depending on how sweet your ice cream already is
- A pinch of salt — this might sound unusual, but it sharpens the vanilla flavor and balances the sweetness
- Whipped cream — for topping, optional but highly recommended
- A maraschino cherry — for that classic finishing touch
That’s really all you need. No exotic ingredients, no complicated techniques — just quality dairy and real vanilla.
Step-by-Step Instructions
Step 1: Chill Your Glasses
This is a small step that makes a big difference. Pop your serving glasses into the freezer for about 10 minutes before you start blending. A cold glass keeps your shake colder for longer and prevents it from melting too quickly once poured.
Step 2: Soften the Ice Cream Slightly
Take your vanilla ice cream out of the freezer about 5 minutes before you plan to blend. You don’t want it fully melted, but letting it soften just slightly makes it much easier on your blender and results in a smoother final texture. If your ice cream is rock hard, your blender may struggle, and you risk ending up with an inconsistent shake full of ice crystals rather than a silky one.
Step 3: Add Ingredients to the Blender
In your blender, combine:
- The softened vanilla ice cream
- 3/4 cup of whole milk (start here — you can always add more)
- The vanilla extract
- A pinch of salt
- Sugar or simple syrup, if using
Step 4: Blend in Short Pulses
Start with short pulses rather than running the blender continuously. This helps break down the ice cream evenly without over-processing it. After a few pulses, blend continuously on low-to-medium speed until the mixture is smooth and creamy, about 20 to 30 seconds.
Step 5: Check the Consistency
This is the moment of truth. Stop the blender and check the texture. If it’s too thick to pour but still blends easily, that’s actually the ideal milkshake consistency — thick enough to need a straw and a bit of patience, but not so thick it won’t move at all. If it’s too thick for your liking, add a splash more milk and blend again briefly. If it’s too thin, add a scoop more ice cream.
Step 6: Pour and Garnish
Pour the shake into your chilled glasses immediately — vanilla shakes wait for no one. Top with a generous swirl of whipped cream and finish with a maraschino cherry. For an extra touch, add a light dusting of ground vanilla bean or a few chocolate shavings on top.
Step 7: Serve Immediately
Vanilla shakes are best enjoyed right away, ideally with a thick straw and a long spoon so you can get every last bit from the bottom of the glass.
Tips for the Perfect Vanilla Shake
Use full-fat ice cream. Low-fat or “light” ice creams contain more air and less fat, which results in a thinner, less satisfying shake. For that classic thick, creamy texture, full-fat vanilla ice cream is non-negotiable.
Don’t skip the salt. It sounds counterintuitive in a sweet drink, but a pinch of salt enhances the vanilla flavor and keeps the shake from tasting one-dimensionally sweet. This is the same principle bakers use when they add salt to cookie dough or caramel.
Use real vanilla extract, not imitation. Imitation vanilla is made from synthetic vanillin and tends to have a flatter, slightly bitter aftertaste compared to pure vanilla extract, which has a rounder, warmer flavor profile. If you have access to vanilla bean paste or a fresh vanilla pod, even better — you’ll get those signature little black flecks throughout the shake.
Chill everything you can. Cold milk, a cold blender jug if possible, and chilled glasses all help keep your shake from turning watery too fast.
Don’t over-blend. The longer you blend, the more the ice cream melts and the more air gets incorporated, which can make your shake thinner and foamier rather than dense and creamy. Blend just until smooth, then stop.
Adjust milk gradually. It’s much easier to add more milk to thin out a shake than it is to fix one that’s already too runny. Always start with less milk than you think you need.
Common Mistakes to Avoid
Even a simple recipe like this has a few pitfalls. Here are the most common mistakes people make when preparing a vanilla shake:
- Using melted or overly soft ice cream. This leads to a thin, soupy shake with no body.
- Adding too much milk at once. It’s hard to thicken a shake back up once it’s too thin, so add liquid slowly.
- Skipping the salt. As mentioned, this small addition makes a noticeable difference in flavor balance.
- Blending for too long. Over-blending introduces excess air and melts the ice cream further, resulting in a weaker shake.
- Not chilling the glass. A room-temperature glass will cause your shake to lose its ideal texture within minutes.
Creative Variations to Try
Once you’ve mastered the classic vanilla shake, you can easily use it as a base for other flavors:
- Vanilla Malt Shake: Add 1 to 2 tablespoons of malted milk powder for a nostalgic, slightly nutty flavor reminiscent of old-fashioned soda fountains.
- Vanilla Bean Shake: Scrape the seeds from half a real vanilla bean pod into the blender for an intensely aromatic, speckled shake.
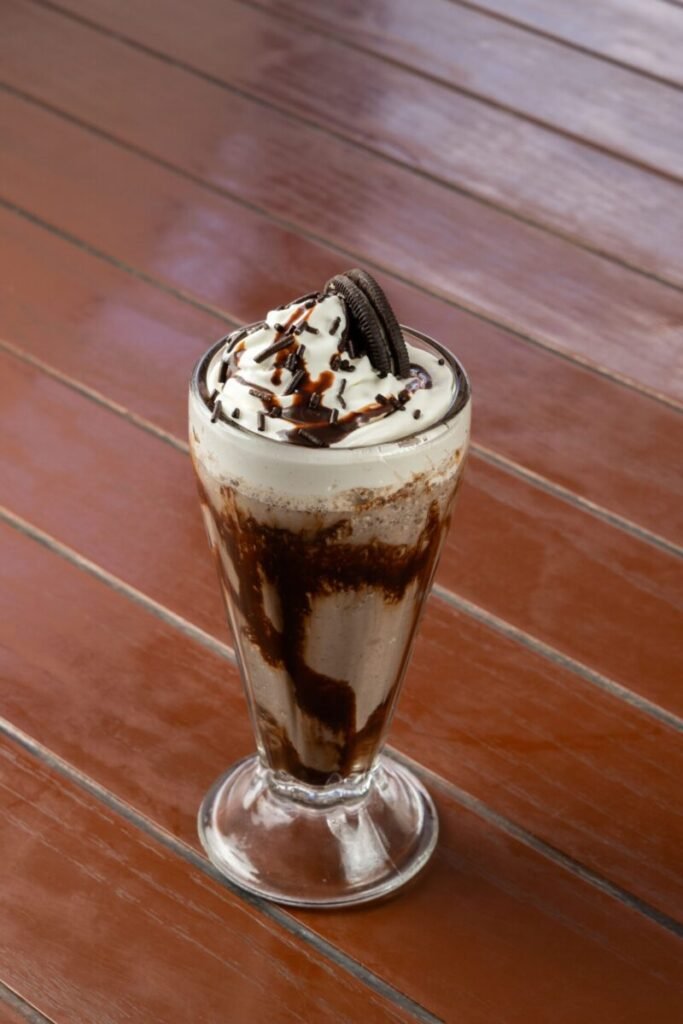
- Cookies and Cream Vanilla Shake: Add 4 to 5 crushed chocolate sandwich cookies for a crunchy, chocolatey twist.
- Bourbon Vanilla Shake (for adults): Add a tablespoon of bourbon for a grown-up dessert cocktail.
- Vanilla Coffee Shake: Add a shot of espresso or a tablespoon of instant coffee for a caffeinated version.
- Vegan Vanilla Shake: Substitute the ice cream and milk with your favorite plant-based versions — coconut or oat-based vanilla ice cream works particularly well.
Nutritional Notes
A classic vanilla shake made with whole milk and full-fat ice cream is undeniably a treat rather than an everyday health food, and that’s perfectly fine — moderation is part of what makes it special. If you’re looking to lighten it up, you can use lower-fat milk, reduce the added sugar, or opt for a lighter ice cream, though keep in mind this will affect the final texture and richness.
Final Thoughts
A vanilla shake is proof that you don’t need a long ingredient list or complicated techniques to create something genuinely delicious. With just a handful of pantry staples — good ice cream, cold milk, real vanilla extract, and a pinch of salt — you can make a shake that’s rich, creamy, and deeply satisfying in under five minutes.
Whether you’re making it for a hot afternoon, a nostalgic treat, or as the base for your own flavor experiments, this vanilla shake recipe is one worth keeping in your back pocket. Once you’ve made it a few times, you’ll understand why vanilla, despite its “plain” reputation, remains one of the most beloved flavors of all time.
So grab your blender, chill your glass, and treat yourself to a shake that’s simple, classic, and always satisfying.