

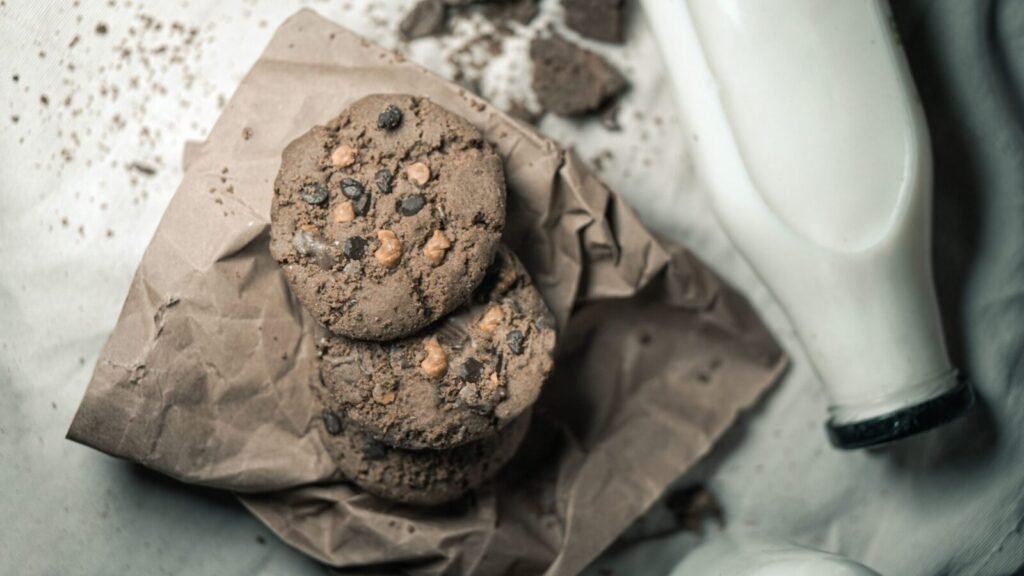
Few things in the world of baking inspire as much devotion as the chocolate chip cookie. It’s the recipe most of us learned to make as kids, the one that fills the kitchen with an unmistakable aroma, and the one that never fails to bring people together around a plate fresh out of the oven. Yet despite how familiar it feels, getting the perfect chocolate chip cookie — crisp on the edges, soft and chewy in the middle, loaded with melty chocolate — requires more precision than most people realize.
In this article, we’ll break down everything you need to know to bake truly exceptional chocolate chip cookies at home: the science behind the ingredients, a foolproof step-by-step method, tips for customizing texture to your taste, common mistakes that ruin batches, and a few creative variations to try once you’ve mastered the basics.
What Makes a Chocolate Chip Cookie “Perfect”?
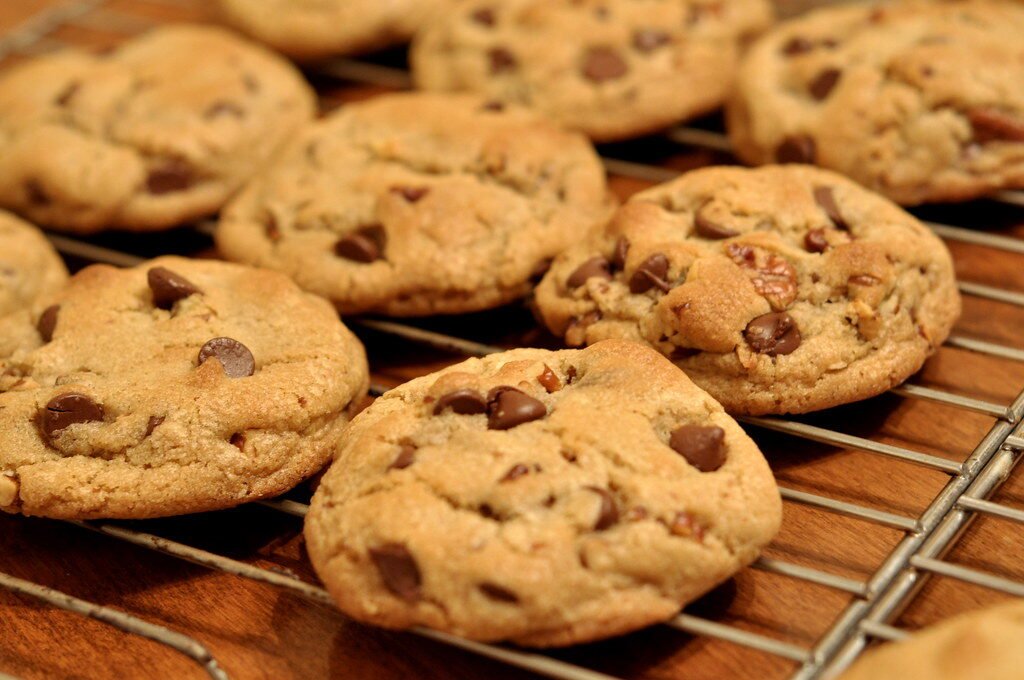
Perfection is subjective when it comes to cookies. Some people love a thin, crispy cookie that shatters slightly when you bite into it. Others want a thick, cakey cookie that’s almost bread-like. Most of us, though, are chasing that classic bakery-style texture: golden and slightly crisp around the edges, soft and gooey in the center, with pockets of melted chocolate throughout.
The good news is that cookie texture is largely a matter of ratios and technique, which means you can control it. Understanding why each ingredient behaves the way it does will help you tweak this recipe to match your personal preference every time you bake.
Ingredients You’ll Need
This recipe makes about 24 medium-sized cookies.
Dry Ingredients:
- 2 1/4 cups all-purpose flour
- 1 teaspoon baking soda
- 1 teaspoon salt (plus a bit of flaky sea salt for topping, optional)
Wet Ingredients:
- 1 cup unsalted butter, softened to room temperature
- 3/4 cup granulated sugar
- 3/4 cup packed brown sugar
- 2 large eggs
- 2 teaspoons pure vanilla extract
Mix-Ins:
- 2 cups semi-sweet chocolate chips (or a mix of chocolate chips and chunks for varied texture)
That’s the full ingredient list — nothing exotic, just pantry staples used in the right proportions.
The Science Behind the Ingredients
Before jumping into the method, it helps to understand what each ingredient contributes. This knowledge is what separates someone who follows a recipe from someone who can actually troubleshoot and adjust one.
Butter provides fat, flavor, and moisture. The temperature of your butter matters enormously — softened butter creamed with sugar creates air pockets that help cookies rise, while melted butter (used in some recipes) creates a denser, chewier cookie.
Sugar does more than sweeten. Granulated sugar promotes spread and crispness, while brown sugar, thanks to its molasses content, adds moisture and chewiness along with a deeper caramel flavor. The ratio between the two is one of the biggest levers you can pull to control texture — more brown sugar generally means a softer, chewier cookie.
Eggs bind the ingredients together and add structure and moisture. The yolk in particular contributes richness and chewiness, which is why some bakers add an extra egg yolk for an even softer cookie.
Flour provides structure through gluten development. Too much flour leads to a dry, cakey cookie; too little leads to cookies that spread too thin and turn out greasy.
Baking soda is a leavening agent that also promotes browning and spread. It reacts with the acidic components in brown sugar to help the cookies rise slightly and develop that classic golden color.
Salt balances the sweetness and enhances the overall flavor. A sprinkle of flaky sea salt on top before baking takes this even further, creating little bursts of savory contrast against the sweet chocolate.
Step-by-Step Instructions
Step 1: Prepare Your Ingredients
Take your butter and eggs out of the refrigerator about 30 to 45 minutes before you start baking. Room-temperature butter creams much more effectively than cold butter, and it’s a step that’s easy to skip but makes a real difference in the final texture.
Preheat your oven to 375°F (190°C) and line two baking sheets with parchment paper.
Step 2: Cream the Butter and Sugars
In a large mixing bowl, beat the softened butter with the granulated sugar and brown sugar using an electric mixer on medium speed. Cream them together for about 2 to 3 minutes, until the mixture is light, fluffy, and pale in color. This step incorporates air into the dough, which contributes to a better rise and texture.
Step 3: Add the Eggs and Vanilla
Add the eggs one at a time, beating well after each addition. Then mix in the vanilla extract. The mixture should look smooth, glossy, and well combined at this point.
Step 4: Combine the Dry Ingredients
In a separate bowl, whisk together the flour, baking soda, and salt. Whisking the dry ingredients separately ensures the baking soda and salt are evenly distributed throughout the flour, which prevents uneven leavening or salty pockets in your finished cookies.
Step 5: Combine Wet and Dry Ingredients
Gradually add the dry ingredient mixture to the wet ingredients, mixing on low speed or by hand with a spatula. Mix just until the flour disappears — overmixing at this stage develops too much gluten, which can make your cookies tough rather than tender.
Step 6: Fold in the Chocolate Chips
Gently fold in the chocolate chips (and chunks, if using) with a spatula until they’re evenly distributed throughout the dough.
Step 7: Chill the Dough (Don’t Skip This)
This is the step most people skip, and it’s the one that makes the biggest difference. Cover the bowl and refrigerate the dough for at least 30 minutes, or ideally up to 24 hours. Chilling the dough solidifies the fat, which slows down spreading in the oven and results in a thicker, chewier cookie. It also gives the flour time to fully hydrate, deepening the flavor.
Step 8: Portion and Bake
Scoop the dough into balls of about 1.5 tablespoons each and place them on your prepared baking sheets, spacing them about 2 inches apart. If desired, press a few extra chocolate chips onto the top of each dough ball for a more visually appealing finished cookie, and sprinkle with a touch of flaky sea salt.
Bake for 9 to 11 minutes, until the edges are golden brown but the centers still look slightly underbaked and soft. This is key — the cookies will continue cooking on the hot baking sheet after you remove them from the oven.
Step 9: Cool on the Baking Sheet
Let the cookies rest on the baking sheet for about 5 minutes before transferring them to a wire rack. This resting period allows them to set properly without falling apart, while still preserving that soft, gooey center.
Tips for Getting the Best Texture
Chill your dough. As mentioned above, this single step has the biggest impact on texture and is worth the wait.
Don’t overbake. Cookies continue to cook after leaving the oven due to residual heat. Pull them out when the centers still look slightly underdone for the softest results.
Use a kitchen scale for flour. Measuring flour by volume with a cup can lead to inconsistent results depending on how packed the flour is. If you have a kitchen scale, 2 1/4 cups of flour is approximately 280 to 300 grams.
Experiment with sugar ratios. More brown sugar relative to granulated sugar creates a softer, chewier cookie with a deeper flavor. More granulated sugar creates a crisper, flatter cookie.
Use a mix of chocolate formats. Combining chocolate chips with chopped chocolate bar pieces creates varied pockets of melted chocolate — some smooth and even, some in irregular puddles — for a more bakery-style appearance and texture.
Common Mistakes to Avoid
- Using cold butter. This prevents proper creaming and results in dense, poorly risen cookies.
- Skipping the chill time. Warm dough spreads too quickly in the oven, leading to thin, greasy cookies.
- Overmixing the dough. This develops excess gluten and makes cookies tough rather than tender.
- Overbaking. Leaving cookies in until they look fully done at the center will result in dry, crumbly cookies once they cool.
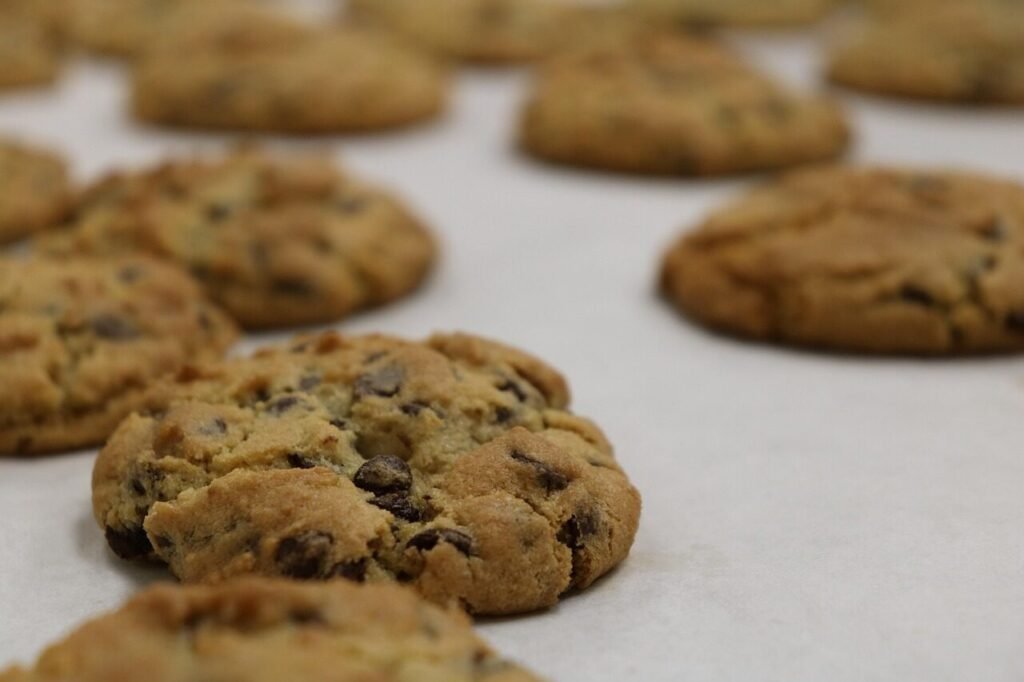
- Overcrowding the baking sheet. Cookies spread significantly, so give them enough room to avoid merging into one giant cookie.
Creative Variations to Try
Once you’ve nailed the classic recipe, here are a few ways to switch things up:
- Brown Butter Chocolate Chip Cookies: Brown the butter before creaming it with the sugars for a nutty, caramelized depth of flavor.
- Double Chocolate Chip Cookies: Replace 1/4 cup of the flour with cocoa powder for a rich, chocolate-on-chocolate version.
- Nutty Chocolate Chip Cookies: Fold in 1/2 cup of chopped walnuts or pecans for added crunch.
- Sea Salt Caramel Chocolate Chip Cookies: Add small chunks of soft caramel candy along with the chocolate chips for gooey caramel pockets.
- Oatmeal Chocolate Chip Cookies: Substitute 1 cup of the flour with old-fashioned oats for a heartier, chewier texture.
- Espresso Chocolate Chip Cookies: Add 1 to 2 teaspoons of instant espresso powder to the dry ingredients to intensify the chocolate flavor without adding a distinct coffee taste.
Storage Tips
Baked cookies can be stored in an airtight container at room temperature for up to 5 days. To keep them soft, add a slice of bread to the container — the cookies will absorb the moisture from the bread and stay fresher longer.
Unbaked cookie dough balls freeze exceptionally well. Portion the dough, freeze the balls on a tray until solid, then transfer them to a freezer bag. You can bake them straight from frozen, just add 1 to 2 extra minutes to the baking time. This means you can have fresh, warm cookies ready in under 15 minutes any time the craving strikes.
Final Thoughts
The chocolate chip cookie may be one of the simplest recipes in the baking world, but simplicity doesn’t mean there’s no room for mastery. Understanding how each ingredient works — and why steps like chilling the dough and slightly underbaking matter — is what elevates a good cookie into an unforgettable one.
Whether you like yours thin and crispy, thick and chewy, or somewhere in between, this recipe gives you the foundation and the knowledge to adjust it exactly to your taste. Once you’ve baked a batch using these techniques, it’s hard to go back to anything less.
So preheat that oven, chill your dough, and get ready to bake a batch of chocolate chip cookies that might just become your new signature recipe.
