
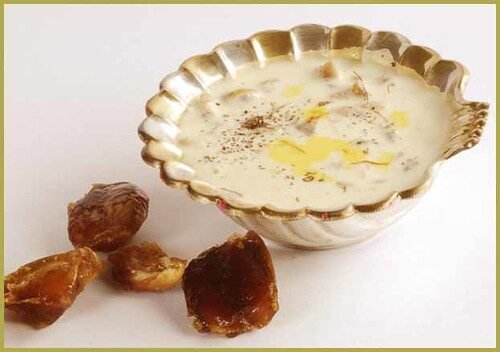
There’s a particular kind of comfort that comes from a warm bowl of kheer. Maybe it’s the way the kitchen fills with the smell of simmering milk and cardamom, or maybe it’s the memory of grandmothers stirring a pot for what feels like hours, refusing to rush a dish that simply cannot be rushed. Whatever it is, kheer holds a special place at the heart of South Asian celebrations, festivals, and family gatherings, showing up at everything from Eid and Diwali to birthdays and simple Sunday dinners.
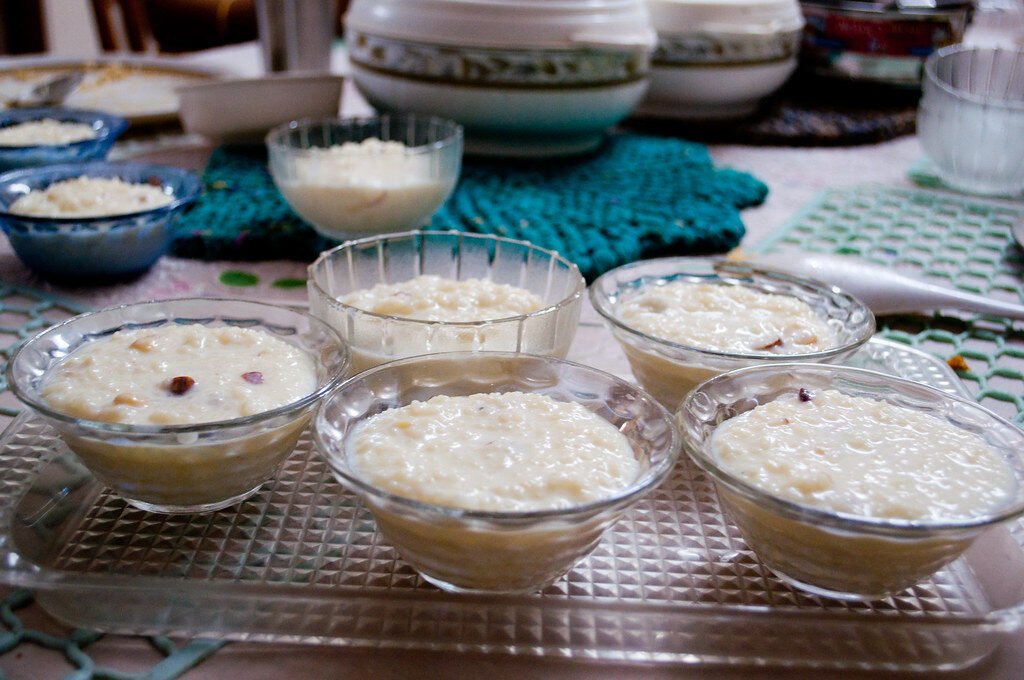
At its core, kheer is a rice pudding, but calling it that almost undersells what it actually is. Slow-simmered milk reduces down until it’s thick and slightly caramelized, rice grains soften until they practically melt into the pudding, and a fragrant mix of cardamom, saffron, and nuts ties everything together into something far richer and more special than the name “rice pudding” suggests.
This recipe walks through how to make traditional, stovetop kheer from scratch, along with the small techniques that make the difference between a good bowl of kheer and one that people remember long after the dish is empty.
What Makes Kheer So Special
Kheer’s magic lies almost entirely in patience. Unlike a lot of desserts that rely on precise measurements and quick execution, kheer is a dish built on slow reduction. Full-fat milk is simmered gently over low heat for a long stretch of time, allowing it to reduce and thicken naturally while developing a deep, slightly nutty, caramelized flavor that simply can’t be replicated by rushing the process or using shortcuts like condensed milk alone.
The rice itself plays a supporting role rather than being the star. As it cooks low and slow in the milk, it releases starch that helps thicken the pudding further, while the grains themselves become soft and slightly broken down, blending almost seamlessly into the surrounding creaminess rather than staying distinct like they would in a bowl of plain rice.
Ingredients You’ll Need
This recipe serves about 6 people as a dessert portion.
- 8 cups whole milk (full-fat, for the best texture and richness)
- ¼ cup basmati rice, rinsed and soaked for 20 to 30 minutes
- ½ cup granulated sugar, adjusted to taste
- 4 to 5 green cardamom pods, lightly crushed
- A generous pinch of saffron strands, soaked in 2 tablespoons warm milk
- 2 tablespoons ghee
- ¼ cup chopped almonds
- ¼ cup chopped pistachios
- 2 tablespoons raisins
- Rose water or kewra water, optional, just a few drops
Step-by-Step Instructions
Step 1: Prepare the Rice
Rinse the basmati rice thoroughly under cold water until the water runs mostly clear, which helps remove excess surface starch. Soak the rinsed rice in water for about 20 to 30 minutes, then drain well before using.
Soaking isn’t strictly necessary, but it softens the rice slightly beforehand, helping it cook more evenly and break down more easily once it’s added to the simmering milk, which contributes to that classic, slightly broken-down texture kheer is known for.
Step 2: Toast the Rice in Ghee
In a heavy-bottomed pot or deep pan, heat the ghee over medium heat. Add the drained rice and sauté gently for 2 to 3 minutes, stirring frequently. This step isn’t traditional in every household version, but it adds a subtle nuttiness to the finished kheer and helps prevent the rice from turning mushy or sticking together once the milk is added.
Step 3: Add the Milk and Begin Simmering
Pour in the milk and add the crushed cardamom pods. Increase the heat until the milk comes to a gentle boil, stirring frequently to prevent it from scorching on the bottom or boiling over, since milk has a tendency to rise quickly and unexpectedly.
Once it reaches a boil, reduce the heat to low, allowing the milk to simmer very gently. This is where the real transformation begins, and where patience becomes essential.
Step 4: Simmer Low and Slow
Let the kheer simmer over low heat for 45 minutes to an hour, stirring every few minutes to prevent the rice and milk solids from sticking to the bottom of the pot and scorching. You’ll notice the milk gradually reducing and thickening, taking on a pale golden hue as it cooks down. The rice grains will soften considerably, some breaking apart slightly and blending into the surrounding milk, which is exactly what you want.
Resist the temptation to rush this process by increasing the heat. Cooking kheer too quickly at a higher temperature will cause the milk to scorch on the bottom of the pot, giving the entire dish a burnt, bitter undertone that’s difficult to mask once it’s there. Low and slow is the only way to develop that deep, naturally sweet, caramelized flavor that makes kheer so distinct from a quick rice pudding.
Step 5: Add the Sugar and Saffron
Once the kheer has thickened to a consistency similar to a loose, creamy porridge, stir in the sugar. Adding sugar earlier in the cooking process can sometimes interfere with the milk’s ability to thicken properly, so it’s best saved for this later stage. Stir until the sugar is fully dissolved.
Add the saffron strands along with the warm milk they were soaked in, stirring well to distribute that beautiful golden color and distinct aroma throughout the pudding. Let the kheer simmer for another 5 to 10 minutes after adding the sugar and saffron, allowing the flavors to meld together fully.
Step 6: Add the Nuts and Finish
Stir in the chopped almonds, pistachios, and raisins, reserving a small handful of each for garnish later. Let everything simmer together for another couple of minutes. If using, add a few drops of rose water or kewra water at this stage, stirring gently to combine. These floral waters are entirely optional but add a distinct, fragrant note that’s common in many traditional South Asian dessert preparations.
Taste and adjust the sweetness if needed, keeping in mind that kheer will continue to thicken slightly as it cools, which can make the sweetness taste marginally more concentrated once it’s no longer piping hot.
Step 7: Cool and Serve
Kheer can be enjoyed warm, at room temperature, or fully chilled, depending on personal preference and the occasion. Many people prefer it slightly chilled, especially during warmer months, while others enjoy it warm straight off the stove, particularly during colder seasons or festive gatherings.
If serving chilled, transfer the kheer to a serving bowl or individual bowls and refrigerate for at least a couple of hours before serving. Keep in mind that kheer thickens considerably as it cools, so if it seems too thick after refrigeration, you can loosen it slightly with a splash of warm milk, stirring until it reaches your desired consistency again.
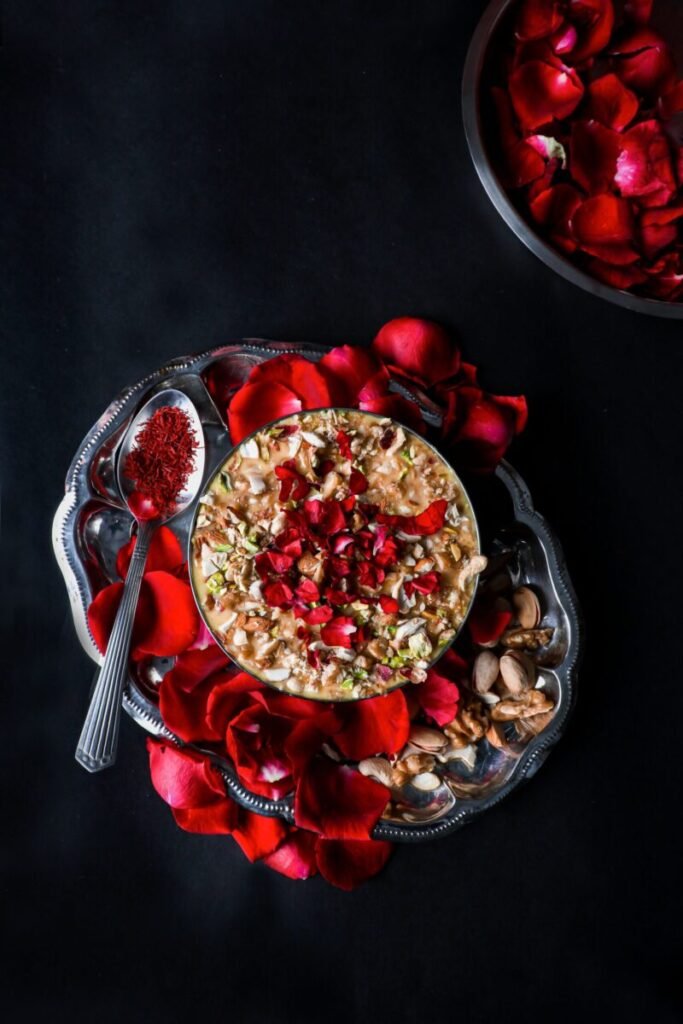
Garnish with the reserved chopped nuts and a few extra saffron strands right before serving for a beautiful presentation.
Tips for the Best Kheer
- Use full-fat milk. Low-fat or skim milk simply won’t reduce down into the same rich, creamy consistency that makes kheer so satisfying.
- Stir frequently, especially toward the end. As the milk reduces, it thickens and becomes more prone to sticking and scorching on the bottom of the pot, so more frequent stirring becomes necessary as the cooking process progresses.
- Use a heavy-bottomed pot. This helps distribute heat more evenly and reduces the risk of scorching compared to a thin, lightweight pan.
- Add sugar later in the process. This allows the milk to reduce and thicken properly before the sugar is introduced.
- Don’t rush the simmering time. The low and slow approach is what develops kheer’s signature depth of flavor, and there’s genuinely no shortcut that replicates it properly.
- Adjust rice quantity to your preferred texture. If you like a thicker, more rice-forward kheer, feel free to increase the rice slightly. For a smoother, more pudding-like texture, you can reduce it slightly instead.
Storage
Kheer keeps well in the refrigerator for up to 4 days, stored in an airtight container. As mentioned, it will thicken further once chilled, so simply stir in a splash of warm milk when reheating or before serving to bring it back to your preferred consistency. It’s best reheated gently on the stovetop over low heat, stirring frequently, rather than in the microwave, which can cause uneven heating and a slightly grainy texture if not done carefully.
Kheer doesn’t tend to freeze particularly well, since the texture of the milk solids can change and become slightly grainy once thawed, so it’s best enjoyed fresh within a few days of making it.
Regional Variations Worth Trying
Kheer varies quite a bit across South Asia and Southeast Asia, and exploring a few different versions can be a fun way to appreciate just how versatile this dish really is:
- Bengali payesh often incorporates jaggery instead of white sugar, giving the pudding a deeper, more caramel-like sweetness alongside the traditional cardamom and rice base.
- South Indian payasam sometimes swaps rice for vermicelli or moong dal, creating a different texture while keeping the same fundamental milk-based approach.
- Seviyan kheer, popular during Eid celebrations, uses thin roasted vermicelli noodles instead of rice, resulting in a slightly different texture that’s still deeply rooted in the same tradition of slow-simmered, fragrant milk pudding.
Final Thoughts
Kheer is proof that some of the most beloved desserts don’t require complicated techniques or hard-to-find ingredients — just milk, rice, a bit of sugar, and the patience to let everything simmer slowly until it transforms into something rich, fragrant, and deeply comforting. It’s a dish that rewards a slower approach to cooking, and there’s something genuinely meditative about standing over the pot, stirring occasionally, and watching the milk reduce bit by bit into something special.
Whether you’re making it for a festival, a family celebration, or simply because you’re craving something warm and nostalgic, this kheer recipe delivers that same comforting, home-cooked magic that’s made it a staple across South Asian kitchens for generations.
Enjoy every creamy, fragrant spoonful.