
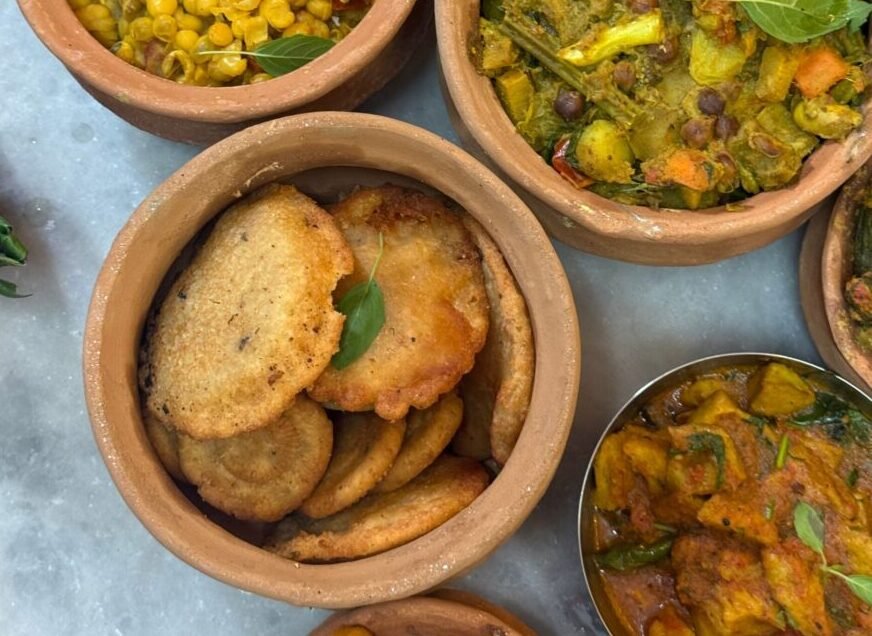
Few snacks capture the essence of South Asian street food quite like the kachori. Golden, flaky, and deeply satisfying, dal kachori is a deep-fried pastry filled with a spiced lentil mixture that delivers a perfect contrast of textures — a crisp, layered outer shell giving way to a warm, aromatic, slightly spicy filling. It’s the kind of snack that pairs beautifully with a cup of hot chai, a tangy chutney, or a bowl of spicy curry for a full meal.
Dal kachori has roots across North India, Pakistan, and parts of Rajasthan, where it’s often enjoyed as a breakfast item, a festive treat, or a beloved evening snack. While it might look intimidating at first glance, the process is actually quite approachable once you break it down into its component parts: preparing the dough, making the spiced dal filling, stuffing and shaping the kachoris, and frying them to golden perfection.
In this article, we’ll walk through everything you need to know to make authentic, restaurant-quality dal kachori at home, including ingredient breakdowns, a detailed step-by-step method, tips for getting that signature flaky texture, common mistakes to avoid, and serving suggestions to round out the experience.
What Is Dal Kachori?
Kachori refers to a type of stuffed, deep-fried bread made from a simple flour-based dough, filled with a variety of possible fillings. Dal kachori specifically uses a filling made from moong dal (split yellow lentils) or urad dal (split black lentils), cooked down with a blend of spices until it forms a dry, flavorful, slightly coarse mixture. This filling is then encased in dough and deep-fried until the outer layer turns golden and delightfully flaky, with the classic little cracks and blisters on the surface that signal a well-made kachori.
Unlike samosas, which are often triangular and can contain a wide variety of fillings, kachoris are typically round and puffed, with the dal filling distributed throughout rather than concentrated in one section. The dough itself also tends to be flakier and slightly richer, thanks to the addition of fat worked into the flour before kneading.
What You’ll Need
This recipe makes about 12 medium-sized kachoris.
For the Dough:
- 2 cups all-purpose flour (maida)
- 1/4 cup semolina (sooji), optional, for extra crispness
- 4 tablespoons ghee or vegetable oil
- 1/2 teaspoon salt
- Water, as needed, to form a firm dough
For the Dal Filling:
- 1 cup moong dal (split yellow lentils), soaked for 2 to 3 hours
- 2 tablespoons oil or ghee
- 1 teaspoon cumin seeds
- 1 teaspoon fennel seeds
- A pinch of asafoetida (hing)
- 1 tablespoon ginger, finely grated
- 1 to 2 green chilies, finely chopped (adjust to taste)
- 1 teaspoon coriander powder
- 1/2 teaspoon turmeric powder
- 1/2 teaspoon red chili powder
- 1/2 teaspoon garam masala
- 1/2 teaspoon amchur (dried mango powder), or a squeeze of lemon juice
- Salt, to taste
- 2 tablespoons roasted gram flour (besan), to help absorb moisture
- Fresh coriander leaves, chopped, for garnish
For Frying:
- Vegetable oil, enough for deep frying
The Key to a Great Kachori: Understanding the Two Components
A kachori is really two recipes working together — the dough and the filling — and both need to be right for the finished snack to succeed.
The dough needs to be firm but not tough, with just enough fat worked into the flour to create flakiness without making the dough greasy or difficult to seal. This fat-into-flour technique is similar to what you’d use for pie crust or Indian puris, where the fat coats the flour particles and limits gluten development, resulting in a short, flaky texture rather than a chewy, bread-like one.
The filling, meanwhile, needs to be dry rather than wet. A wet filling will cause the kachori to burst open during frying or result in a soggy, undercooked shell. This is why the dal is cooked down thoroughly and often mixed with a bit of roasted gram flour, which helps absorb any remaining moisture and binds the filling together.
Step-by-Step Instructions
Step 1: Prepare the Dal
Drain the soaked moong dal and pulse it in a food processor or blender with minimal water, just enough to form a coarse, grainy paste — not a smooth puree. You want texture in the final filling, not a smooth mush.
Step 2: Cook the Filling
Heat the oil or ghee in a heavy-bottomed pan over medium heat. Add the cumin seeds and fennel seeds, letting them sizzle for a few seconds until fragrant. Add the asafoetida, followed by the grated ginger and chopped green chilies, and sauté briefly.
Add the coarsely ground dal to the pan and stir well. Cook this mixture over medium-low heat, stirring frequently, for about 10 to 12 minutes. This step is crucial — you’re cooking out the moisture from the dal until it becomes dry, crumbly, and no longer sticky.
Step 3: Season the Filling
Once the dal mixture looks dry and slightly grainy, add the coriander powder, turmeric, red chili powder, garam masala, amchur, and salt. Stir well and cook for another 2 to 3 minutes to let the spices toast slightly and release their aroma.
Add the roasted gram flour and mix thoroughly. This helps absorb any residual moisture and gives the filling a firmer, more cohesive texture that will hold together well when stuffed into the dough. Stir in the fresh coriander leaves, then remove the filling from the heat and let it cool completely before using. Using warm filling will make the dough difficult to work with and can cause tearing.
Step 4: Make the Dough
In a large mixing bowl, combine the flour, semolina, and salt. Add the ghee or oil and rub it into the flour using your fingertips until the mixture resembles coarse breadcrumbs. This step, sometimes called “rubbing in,” is what creates the flaky texture in the final fried kachori.
Gradually add water, a little at a time, kneading until you form a firm, smooth dough — firmer than a typical bread dough, but not dry or cracking. Cover the dough with a damp cloth and let it rest for 20 to 30 minutes. This resting period relaxes the gluten, making the dough much easier to roll out later.
Step 5: Shape the Kachoris
Divide the dough into 12 equal-sized balls. Take one ball and flatten it slightly with your palms, then use your thumbs to create a small well in the center, gradually shaping it into a small bowl-like cup.
Place about 1 to 1.5 tablespoons of the cooled dal filling into the center of the dough cup. Gently bring the edges of the dough up and over the filling, pinching them together at the top to seal completely. Roll the sealed ball gently between your palms to smooth it out, then very gently flatten it with your palm or a rolling pin into a thick disc, about 1/4 inch thick. Be gentle here — pressing too hard can cause the filling to burst through the dough.
Repeat this process with the remaining dough and filling, keeping the shaped kachoris covered with a damp cloth as you work to prevent them from drying out.
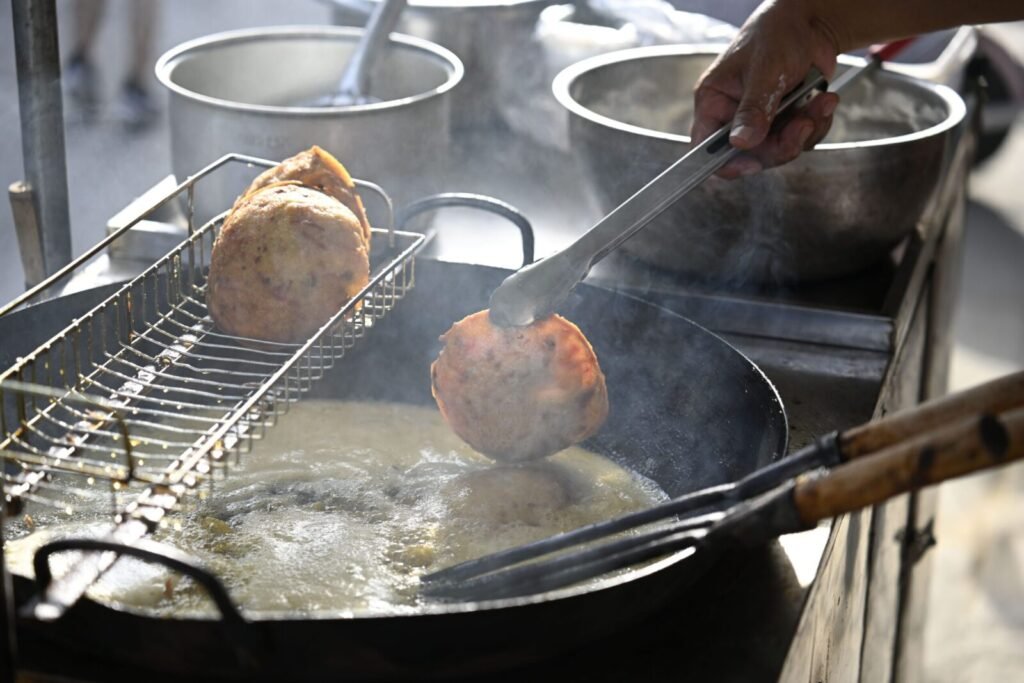
Step 6: Fry the Kachoris
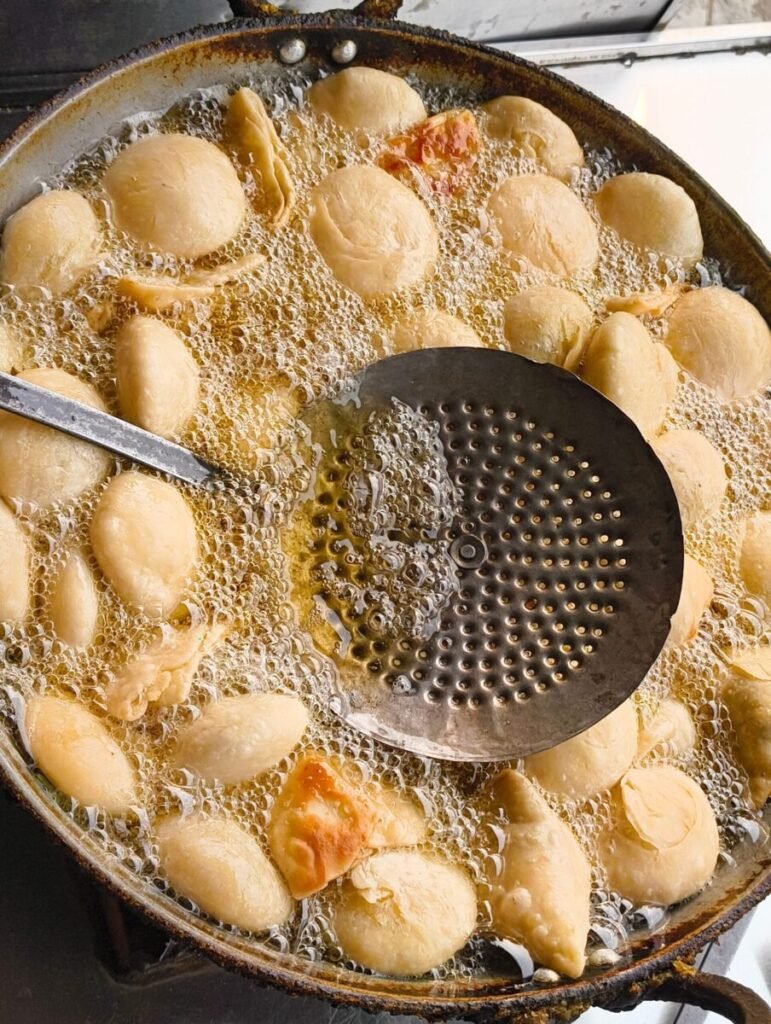
Heat oil in a deep, heavy-bottomed pan or kadai over medium-low heat. The oil temperature is critical here — too hot, and the kachoris will brown too quickly on the outside while remaining raw inside; too cool, and they’ll absorb excess oil and turn greasy.
Test the oil by dropping in a small piece of dough; it should sink slightly and then rise slowly to the surface. Once the oil is at the right temperature, gently slide in the kachoris, a few at a time, being careful not to overcrowd the pan.
Fry on low to medium heat, gently pressing down on each kachori with a slotted spoon initially to encourage puffing. Continue frying, turning occasionally, for about 10 to 12 minutes total, until the kachoris turn a deep golden brown and develop the characteristic flaky, blistered surface.
Step 7: Drain and Cool
Remove the fried kachoris with a slotted spoon and place them on a plate lined with paper towels to absorb excess oil. Let them cool for at least 10 minutes before serving, as the filling stays extremely hot for a while after frying.
Tips for the Best Dal Kachori
Fry low and slow. Kachoris need a longer, gentler frying time than many other fried snacks to ensure the inside cooks through and the outside becomes properly flaky rather than just browned.
Cool the filling completely. Warm filling makes the dough sticky and hard to seal, increasing the risk of tearing or bursting during frying.
Don’t skip the resting time for the dough. This relaxation period makes shaping significantly easier and results in a more tender final texture.
Keep the filling dry. If your filling still feels moist after cooking, continue cooking it a bit longer or add a touch more roasted gram flour before using it.
Maintain consistent oil temperature. Fluctuating oil temperature is one of the most common reasons kachoris turn out unevenly cooked or overly greasy.
Common Mistakes to Avoid
- Using a wet filling. This is the most common cause of kachoris bursting open during frying.
- Frying at too high a temperature. This browns the outside before the inside has a chance to cook properly.
- Overstuffing the dough. Too much filling makes sealing difficult and increases the risk of tearing.
- Skipping the dough rest. Unrested dough is harder to shape and can result in a tougher texture.
- Overcrowding the frying pan. This lowers the oil temperature too quickly and leads to uneven, greasy results.
Serving Suggestions
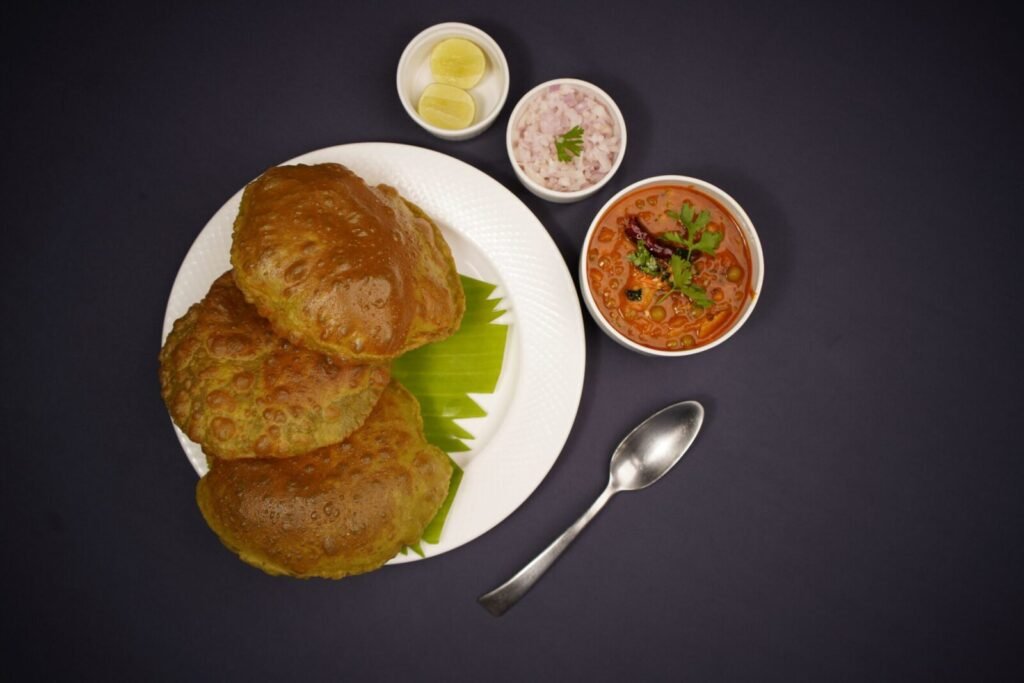
Dal kachori is traditionally served with tangy tamarind chutney and fresh mint-coriander chutney, both of which balance the richness of the fried dough and the warmth of the spiced filling. It also pairs wonderfully with a cup of masala chai, making it a popular breakfast or evening snack.
For a heartier meal, dal kachori can be served “kachori chaat” style — broken up and topped with yogurt, chutneys, chopped onions, and a sprinkle of chaat masala, turning it into a fuller dish rather than just a snack.
Storage Tips
Fried kachoris can be stored at room temperature in an airtight container for up to 2 days, though they’re best enjoyed fresh while the outer layer is still crisp. To reheat, warm them in an oven or air fryer rather than a microwave, as this helps restore some of the original crispness that microwaving tends to soften.
The unfried, shaped kachoris can also be frozen for later use. Freeze them on a tray until solid, then transfer to a freezer bag. Fry directly from frozen, allowing a few extra minutes of cooking time on low heat to ensure the filling heats through completely.
Final Thoughts
Dal kachori might involve a few more steps than your average snack, but each step plays an important role in achieving that perfect combination of flaky pastry and richly spiced filling. Once you understand the two core techniques — cooking the filling until properly dry and building flakiness into the dough — you’ll find that making kachoris at home becomes a satisfying and repeatable process rather than an intimidating one.
Whether you’re making a batch for a festive occasion, a weekend breakfast, or simply because you’re craving something warm, crispy, and spiced, this dal kachori recipe gives you everything you need to recreate that beloved street-food experience right in your own kitchen.
So soak your dal, prepare your dough, and get ready to fry up a batch of kachoris that will fill your kitchen with the unmistakable aroma of toasted spices and crisp, golden pastry.